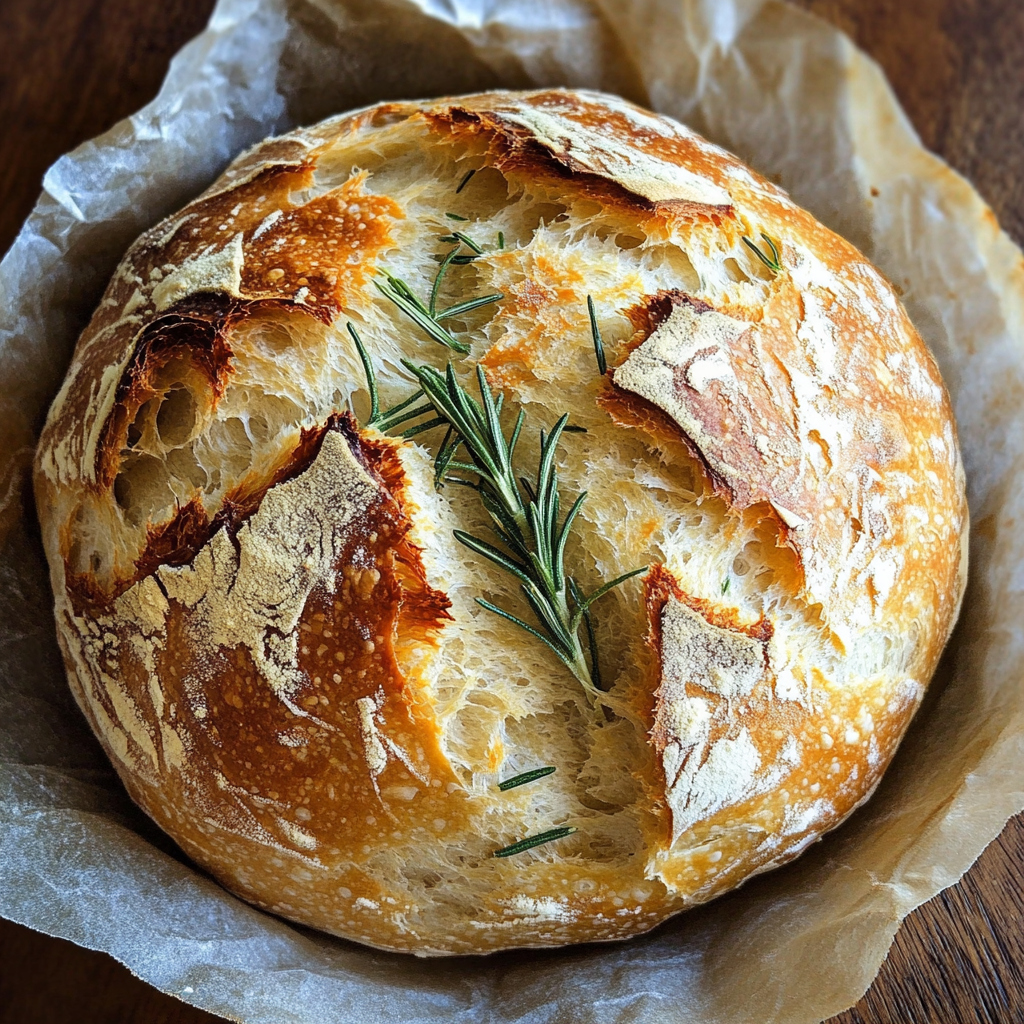

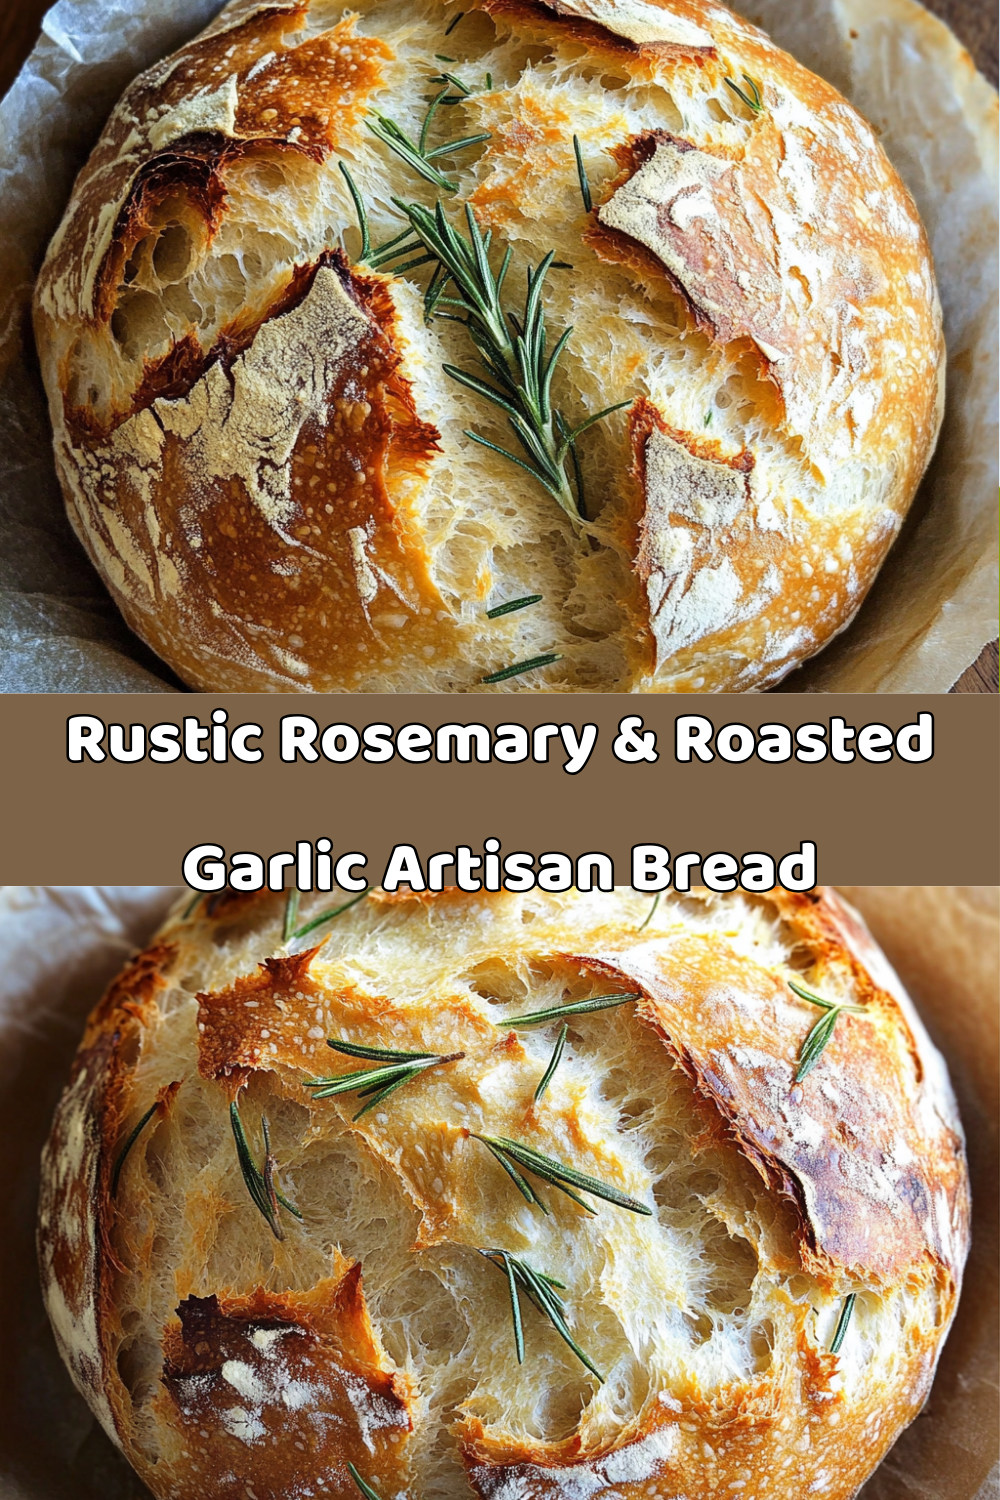
Few things are more satisfying than the aroma of freshly baked bread filling your kitchen. This Rosemary & Roasted Garlic Artisan Bread is everything a great loaf should be—crusty on the outside, chewy on the inside, and packed with deep, herby flavors. The addition of roasted garlic brings a mellow, slightly sweet richness that perfectly complements the fragrant rosemary.
What makes this recipe even more special is that it is no-knead, making it accessible to both beginners and experienced bakers. With an extended rise and a cold-proofing step, this bread develops a wonderful depth of flavor and a perfectly airy structure. Whether you enjoy it as a side for soups, toasted with butter, or as a base for sandwiches, this artisan bread is sure to become a staple in your baking routine.
Let’s dive into how to make this incredible rosemary & roasted garlic artisan bread step by step.
Why You’ll Love This Rosemary & Roasted Garlic Artisan Bread
- No kneading required! The long fermentation process develops structure naturally.
- Incredibly flavorful with fresh rosemary and caramelized roasted garlic.
- Crispy crust and chewy interior, just like a bakery-style artisan loaf.
- Versatile—serve with soups, salads, or as a sandwich base.
- Easy make-ahead dough that can be refrigerated for up to 48 hours before baking.
Ingredients You’ll Need
For the Roasted Garlic:
- 1 head garlic
- Extra-virgin olive oil
- Coarse sea salt and freshly ground black pepper
For the Bread Dough:
- 1½ cups water (room temperature, about 70°F/21°C)
- 1 teaspoon active dry yeast
- 3 cups bread or all-purpose flour, plus more for dusting
- ½ teaspoon dried oregano
- 1 teaspoon kosher or fine sea salt
- 2 teaspoons finely chopped fresh rosemary, plus extra for topping
- 1 whole head roasted garlic, smashed
- 1 tablespoon extra-virgin olive oil
Step-by-Step Instructions
Step 1: Roast the Garlic
- Preheat oven to 400ºF (204ºC).
- Slice the garlic head in half horizontally.
- Drizzle the exposed cloves with olive oil and season with salt and pepper.
- Wrap the garlic in foil and place it on a baking sheet.
- Roast for 40 minutes, until soft and golden.
- Let cool, then squeeze the cloves out of their skins and set aside.
Step 2: Prepare the Dough
- In a bowl, sprinkle the yeast over room-temperature water and let it sit for 10-15 minutes, until frothy.
- In a large mixing bowl, stir together the flour, oregano, salt, and rosemary.
- Add the yeast mixture, roasted garlic, and olive oil.
- Using a rubber spatula, mix until just combined. The dough will be sticky and slightly rough.
Step 3: First Rise (Bulk Fermentation)
- Cover the bowl with a clean kitchen towel or plastic wrap.
- Let the dough rise at room temperature (70°F-75°F/20°C-23°C) for 8-10 hours, or until doubled in size.
- If your kitchen is cooler, the rise may take a bit longer.
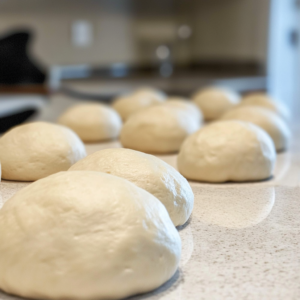
Step 4: Shaping the Dough
- Lightly flour a work surface and gently turn the dough out onto it.
- With floured hands, fold the dough over itself several times to create a round loaf.
- Place it seam-side up in a flour-dusted proofing basket or bowl.
- Dust with additional flour, cover, and refrigerate for at least 1 hour (or up to 48 hours).
Step 5: Preheat the Oven and Bake
- Preheat oven to 450°F (232°C) with a Dutch oven inside.
- Remove the dough from the fridge and place it on parchment paper.
- Score the top with a sharp knife or bread lame.
- Transfer the parchment and dough into the preheated Dutch oven.
- Cover and bake for 30 minutes.
- Remove the lid and bake uncovered for 15-20 minutes, until the crust is deep golden brown.
Step 6: Cooling and Serving
- Remove the bread from the Dutch oven using the parchment paper.
- Let cool on a wire rack for at least 1 hour before slicing.
- Enjoy warm or at room temperature!
Expert Tips for the Best Artisan Bread
- Use fresh rosemary for the most aromatic flavor.
- Cold proofing enhances flavor—if possible, refrigerate for at least 12 hours.
- For an extra crispy crust, spritz the loaf with water before baking.
- Score the bread properly to allow steam to escape and help the bread expand in the oven.
- Don’t slice too soon! Letting the bread cool ensures the inside sets properly.
Serving Suggestions
This Rosemary & Roasted Garlic Artisan Bread pairs beautifully with:
- Olive oil & balsamic vinegar for dipping.
- Butter and sea salt for a simple yet indulgent snack.
- Hearty soups like tomato soup or minestrone.
- Cheese and charcuterie boards.
Storage & Reheating Instructions
How to Store:
- Keep at room temperature for 2-3 days wrapped in a clean towel.
- Refrigerate for up to a week in an airtight bag.
- Slice and freeze for up to 3 months.
How to Reheat:
- Toast slices in a toaster or oven at 350°F for 5 minutes.
- Warm a whole loaf in the oven at 300°F for 10-15 minutes.
Frequently Asked Questions (FAQs)
1. Can I use instant yeast instead of active dry yeast?
Yes! Use the same amount and mix it directly with the flour.
2. Can I use whole wheat flour?
You can substitute up to 1 cup of the all-purpose flour for whole wheat flour, but the texture will be denser.
3. What if I don’t have a Dutch oven?
Use a baking sheet with a pan of hot water on the oven’s bottom rack to create steam.
4. How do I know when the bread is fully baked?
Tap the bottom—if it sounds hollow, it’s done!
5. Can I add cheese to this recipe?
Absolutely! Try adding grated Parmesan or Asiago to the dough.
Final Thoughts
This Rosemary & Roasted Garlic Artisan Bread is a must-try for bread lovers. The combination of savory herbs, caramelized garlic, and a crisp crust makes this loaf truly special. Whether you’re a beginner baker or an experienced pro, this recipe is easy to follow and yields bakery-quality results.
Print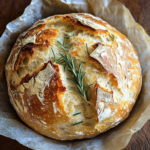
🍞 Rosemary & Roasted Garlic Artisan Bread – A No-Knead Masterpiece!
- Total Time: 18 hours (includes rise time)
- Yield: 1 Loaf 1x
Description
Crusty, chewy, and bursting with herby, garlicky goodness, this Rosemary & Roasted Garlic Artisan Bread is everything a homemade loaf should be! With an easy no-knead method, a long rise for deep flavor, and a golden crispy crust, this is the perfect savory bread for soups, sandwiches, or just slathering with butter!
Ingredients
For the Roasted Garlic:
- 1 head garlic
- Extra-virgin olive oil
- Coarse sea salt & black pepper
For the Bread:
- 1½ cups room-temperature water (70°F/21°C)
- 1 tsp active dry yeast
- 3 cups bread or all-purpose flour (plus extra for dusting)
- ½ tsp dried oregano
- 1 tsp kosher or fine sea salt
- 2 tsp finely chopped rosemary (plus extra for topping)
- 1 whole head roasted garlic (smashed)
- 1 tbsp extra-virgin olive oil
Instructions
1️⃣ Roast the Garlic: Slice the garlic head in half, drizzle with olive oil, season with salt & pepper, wrap in foil, and bake at 400ºF (204ºC) for 40 minutes. Let cool, remove cloves, and set aside.
2️⃣ Prepare the Dough: Sprinkle yeast over water and let sit 10-15 minutes. In a bowl, mix flour, oregano, salt, and rosemary. Stir in yeast mixture, roasted garlic, and olive oil until just combined. The dough will be sticky—this is normal!
3️⃣ First Rise (8-10 hours): Cover and let dough rise in a warm place until doubled in size.
4️⃣ Shape the Dough: Transfer dough to a floured surface, gently fold it into itself a few times, then place it in a flour-dusted bowl or proofing basket. Cover and refrigerate for 1-24 hours (this step enhances flavor and texture).
5️⃣ Preheat the Oven: Heat oven to 450ºF (232ºC) with a Dutch oven inside.
6️⃣ Bake the Bread: Turn dough onto parchment paper, score the top, and transfer to hot Dutch oven. Cover and bake for 30 minutes, then uncover and bake for 15-20 minutes until golden brown and crusty.
7️⃣ Cool & Serve: Let bread cool on a wire rack for at least 1 hour before slicing. Enjoy warm with butter, olive oil, or as a side to your favorite dish!
Notes
✔️ More Garlic? Use as much roasted garlic as you like!
✔️ Customize Flavors – Try adding parmesan, black olives, or sun-dried tomatoes!
✔️ Storage: Keeps 2-3 days on the counter, 1 week in the fridge, or freeze for 3 months.
Nutrition
- Calories: 150
- Fat: 2g
- Carbohydrates: 28g
- Protein: 4g