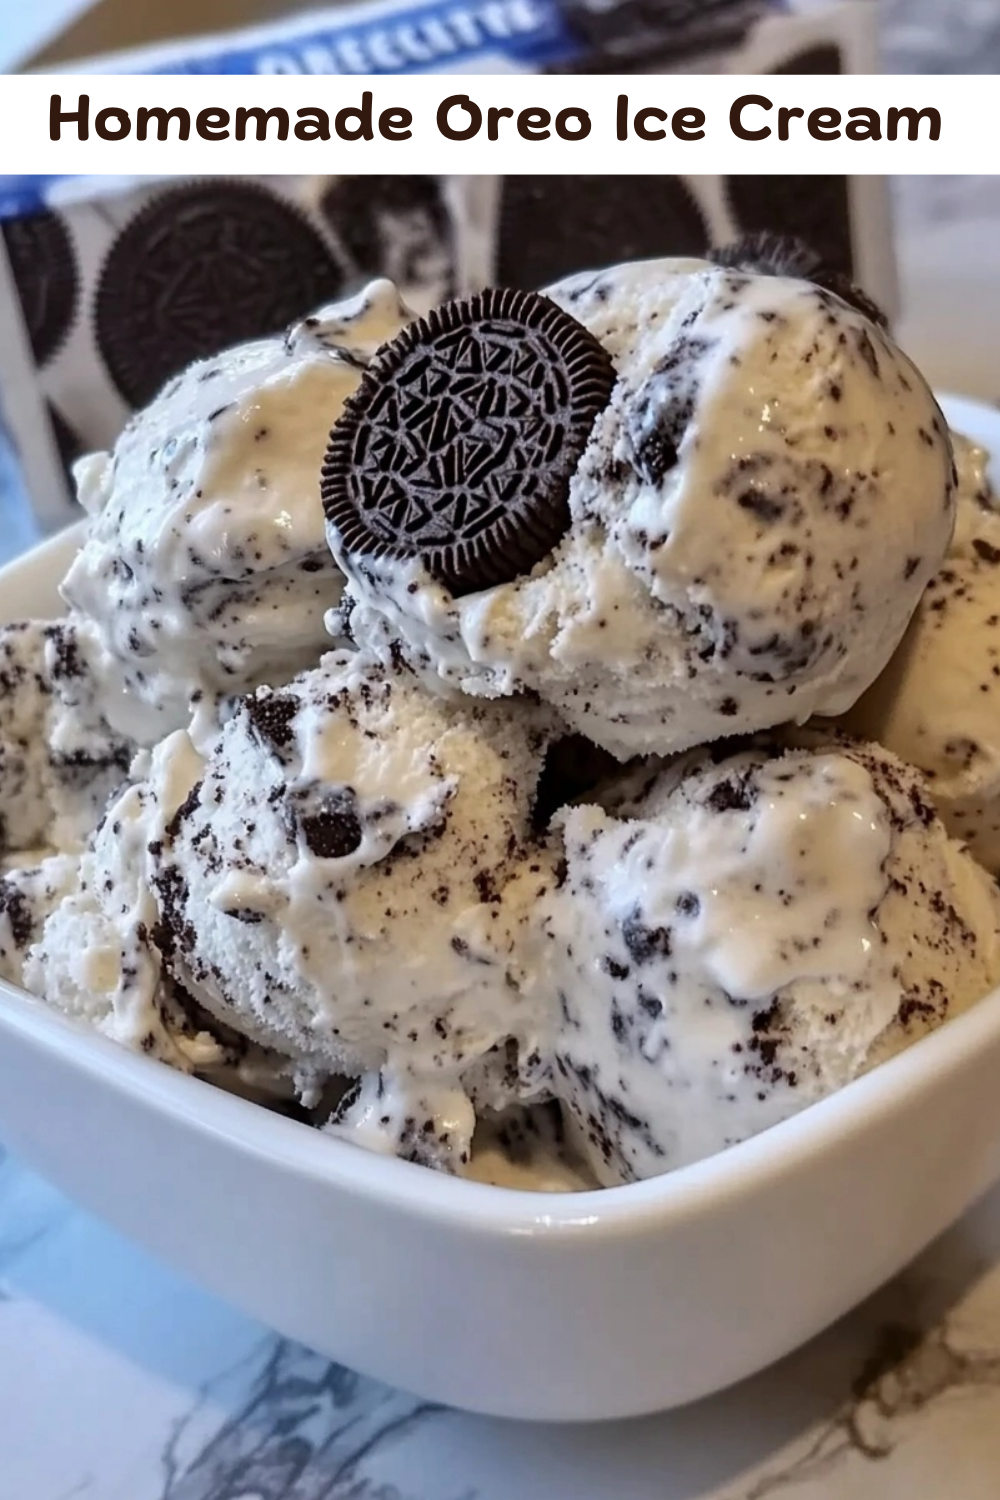
🍦 Homemade Oreo Ice Cream: Your Favorite Childhood Treat, Made Easy at Home!
Let’s be real—nothing screams childhood nostalgia like the sweet sound of the ice cream truck rolling through your neighborhood, promising creamy, dreamy ice cream to cool you down after a long day of summer adventures.
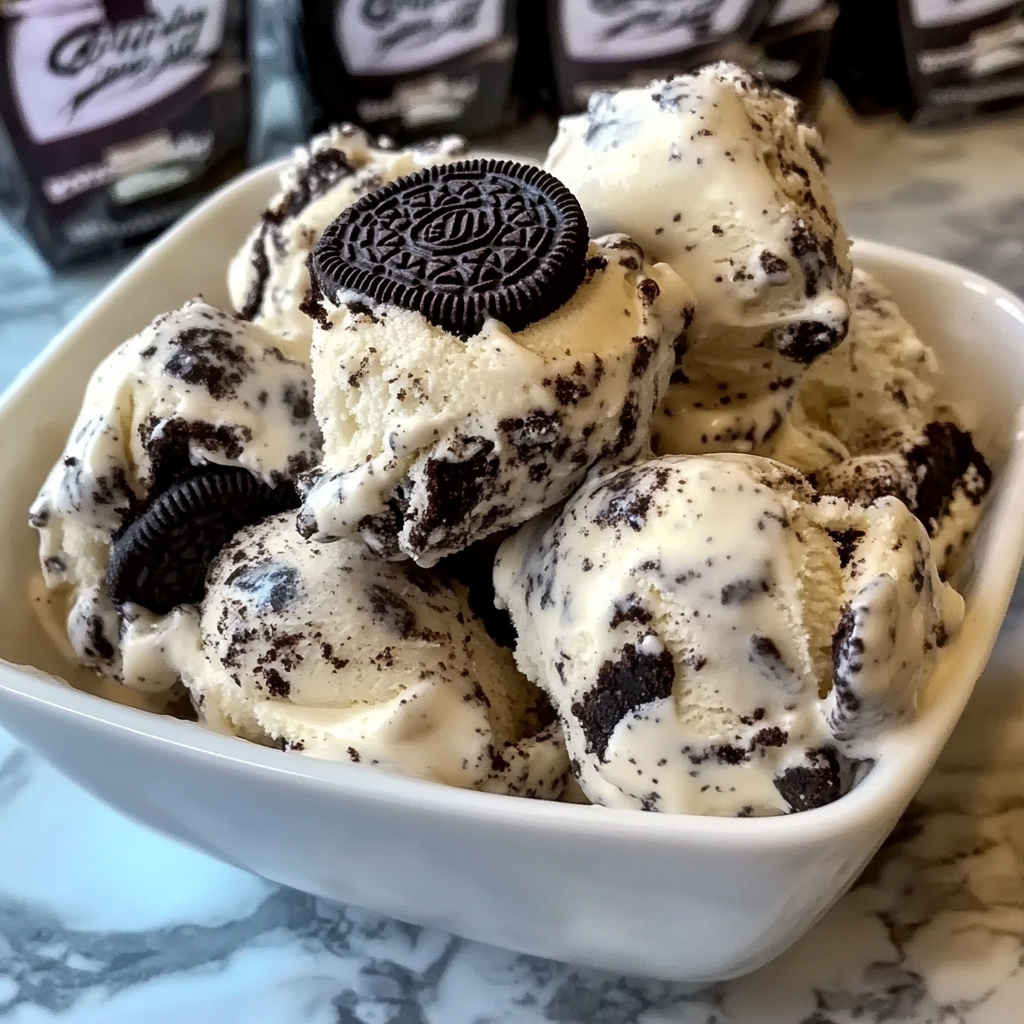
For me, that familiar jingle meant bolting out the door barefoot with spare change jingling in my pockets, eagerly scanning the colorful menu painted on the side of the truck. While friends went for fruity pops and rainbow cones, my go-to pick was always cookies and cream. Something about those crunchy Oreo cookie chunks hidden in velvety, vanilla ice cream made it truly irresistible. Pure magic for my taste buds!
Years later, I’ve perfected a homemade recipe that captures that nostalgic delight and dials the indulgence factor all the way up. You might think making ice cream at home sounds intimidating—but trust me, it’s way easier than you think! No fancy ice cream machines, no complicated instructions. Just creamy deliciousness, packed full of Oreo goodies, right from your humble kitchen.
Ready to whip up some nostalgia? Grab your apron, Oreo cookies, and let’s get churning (or rather, no churning!) this dreamy dessert!
👇 Why You’ll Absolutely LOVE This Homemade Oreo Ice Cream Recipe
Honestly, what’s NOT to love about homemade Oreo ice cream? But if you need extra convincing, here’s why it’ll quickly become a family favorite:
– No ice cream maker needed—super simple prep.
– Creamy, rich, and velvety texture that rivals shop-bought versions.
– Loaded with generous chunks of crunchy, chocolaty Oreos in every bite.
– Kid-approved and adored by grown-ups alike!
– Budget-friendly, using ingredients easily available in your pantry or supermarket.
🎉 Memory Time: The Moment That Sparked My Oreo Obsession (True Story!)
Every good recipe has a story behind it, and this Oreo ice cream is no exception.
Funny enough, the inspiration wasn’t just those summer ice cream trucks—my homemade obsession with Oreos actually began on a rainy day. I was around eight years old and totally devastated that it started pouring rain right when I heard that magical ice cream jingle. My mom—world’s coolest, kindest lady, hands down—decided we’d make our own ice cream instead. At first, I’ll admit, I wasn’t convinced. How could we beat the incredible ice cream man at his own delicious game?
Mom pulled out Oreos, heavy cream, and condensed milk—three simple ingredients hiding in our kitchen—and we got to work. We whisked, we laughed, and we crushed cookies with pure childish glee. The impatient hours spent waiting for the ice cream to freeze turned into storytelling, endless board games, and rainy-day fun.
The first spoonful changed my life forever—that creamy texture, bursting with Oreo flavors and sprinkled joyfully with memories we’d just created, had won me over. Immediately, I vowed to perfect and pass down this quintessential treat, eventually developing this beautiful, foolproof recipe I’m about to share.
Enough storytime! Ready to make your own memories? Let’s jump straight to the ingredients.
✨ Ingredients You’ll Need (Makes about 1.5 quarts)
This recipe is refreshingly simple and uses just four ingredients. Here’s everything you’ll need:
– 2 cups heavy whipping cream (cold from fridge)
– 1 (14 oz) can sweetened condensed milk (keeps it sweet and creamy!)
– 1 tsp vanilla extract (for extra rich flavor)
– 20 Oreo cookies, roughly chopped (honestly, use a few extra, I won’t judge!)
🍨 Step-by-Step Directions (You’ll Nail This, Chef!)
Follow these clear, straightforward steps to whip up your Oreo masterpiece:
1. Whip That Creamy Goodness:
In a large yet cozy mixing bowl, beat your cold heavy cream on medium-high speed with a hand mixer (or stand mixer, if you’re feelin’ fancy!) until stiff peaks form. Think fluffy clouds of happiness—that’s the consistency we’re aiming for.
2. Sweet Ice Cream Base Time:
In another bowl, gently mix together your sweetened condensed milk and vanilla extract until nicely combined. Don’t rush, give it love.
3. Fold & Blend with Care:
Now, gently fold the whipped cream into your condensed milk mixture bit by bit. Fold gently and delicately to keep air pockets, creating that fabulous, velvety texture.
4. Oreo Party Time:
Reserve a small handful of Oreo chunks to sprinkle on top later. Now, fold the remaining chopped Oreos into the creamy mixture. Fold just enough to distribute evenly but not so much they lose their lovely crunch.
5. Chill Out:
Pour the delicious cookies-and-cream delight into a loaf pan or freezer-safe container. Sprinkle those reserved Oreo chunks right on top to make it extra Insta-worthy!
6. Freeze Until Firm (patience!):
Cover your container tightly (plastic wrap or a reusable silicone lid works beautifully). Freeze this creamy goodness at least six hours, overnight even better, until firm enough to scoop.
7. Grab a Spoon & Smile:
When you’re ready, scoop generous portions of your homemade Oreo wonder into bowls or cones. Close your eyes, savor the creamy texture, delicious cookie bits, and let nostalgia wash over you.
🍴Serving Suggestions: How to Enjoy Your Oreo Ice Cream Best
This dreamy Oreo ice cream shines beautifully solo, but here are some fun ways to enjoy:
– Over warm brownies for a decadent treat.
– Sandwiched between two fresh chocolate chip cookies for homemade ice cream sandwiches.
– Topped with chocolate syrup or hot fudge for extra chocolatey heaven.
– Served with colorful sprinkles or crushed peanuts for crunchy fun.
– Paired with fresh strawberries if you’re feeling fruity!
🌟 Pro Tips for Oreo Ice Cream Greatness
Follow these handy tips to ensure Oreo ice cream perfection every single time:
– Before whipping cream, chill your mixing bowl and whisk attachment in the freezer for 10-15 minutes for quicker stiff peaks.
– Don’t crush Oreos too finely, chunkier bits deliver better texture and satisfaction!
– For easier scooping, run your ice cream scoop under hot water before digging in. Thank me later!
– If you have any (unlikely, but possible!), store leftover ice cream tightly covered in the freezer—it stays wonderfully creamy and delicious for up to 14 days.
🍃 Nutritional Info (Per Serving, Approx. ½ Cup)
Though it’s indulgent, here’s a quick nutritional rundown per serving (because moderation and mindful indulgence matter!):
– Calories: 320 kcal
– Fat: 19g
– Carbs: 36g
– Sugars: 28g
– Protein: 4g
– Fiber: 1g
Ready, Set, Freeze!
There you have it—my foolproof, nostalgia-filled Oreo Ice Cream recipe that tastes like pure childhood happiness! I hope this recipe brings you laughter, connection, and plenty of delicious spoonfuls shared with your favorite people.
Happy freezing, friends! Until next time, keep cooking, smiling, and savoring life’s sweet moments. 🍦✨
