Introduction
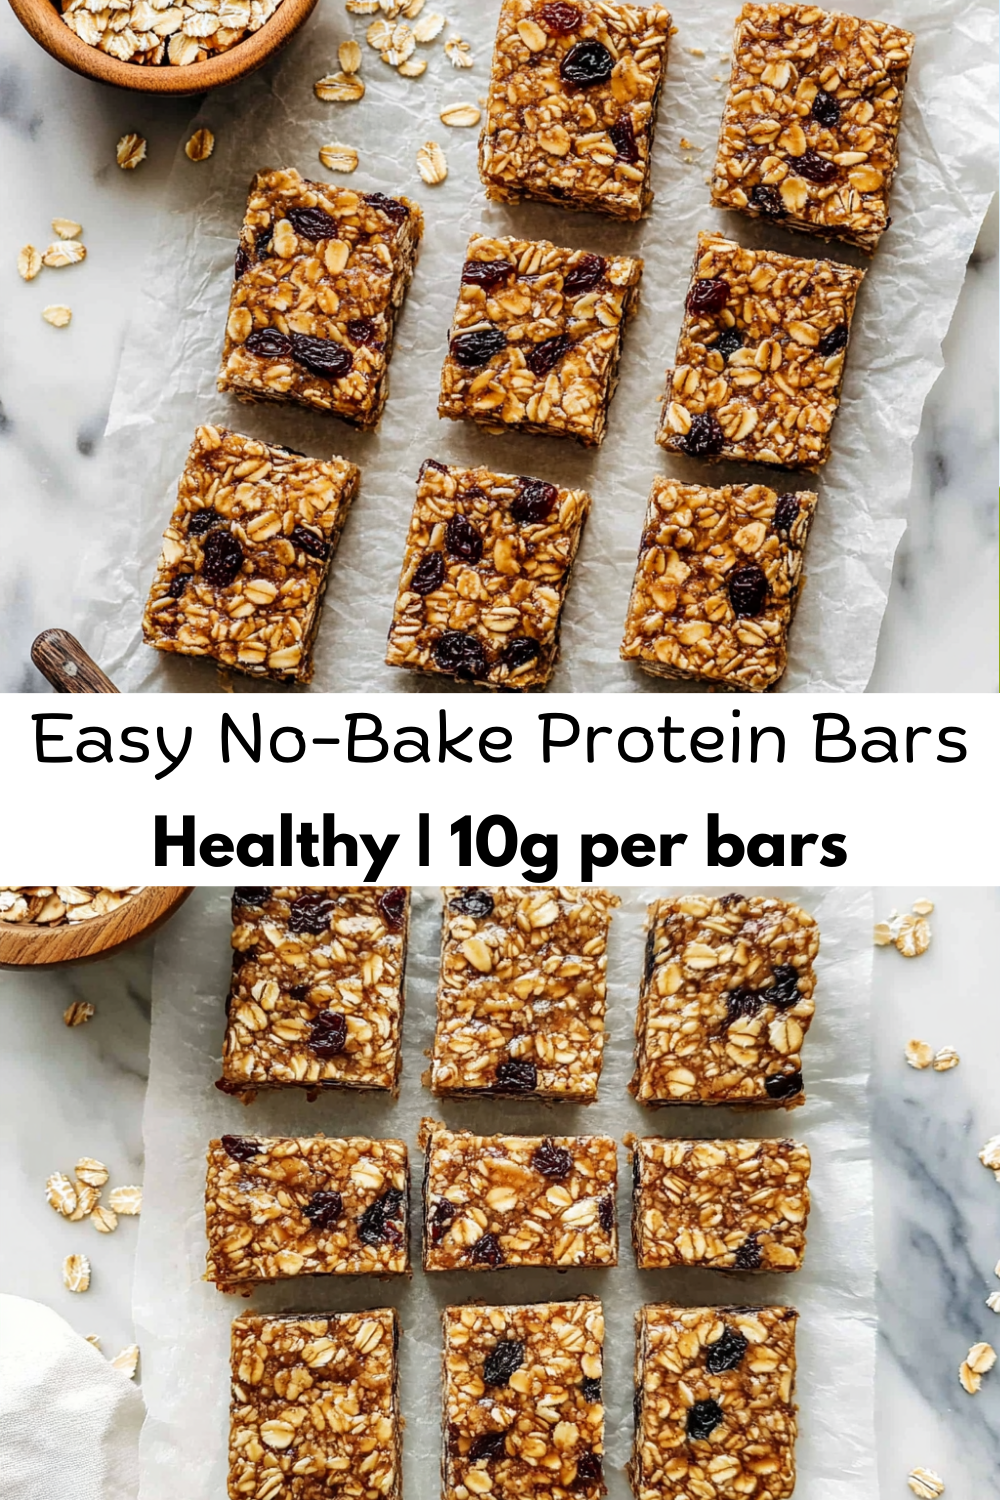
If you’re looking for a healthy, homemade, and Easy No-Bake Protein Bars recipe, you’ve come to the right place! These chewy, delicious, and protein-packed bars are made with simple ingredients and contain no artificial additives. Whether you’re in need of a post-workout snack, a quick grab-and-go breakfast, or a guilt-free sweet treat, these bars are the perfect solution.
Unlike store-bought protein bars, which can often contain preservatives, artificial sweeteners, and high amounts of sugar, this homemade version is completely customizable and requires zero baking. With just 10 minutes of prep time, you can make a batch of these nutrient-dense, protein-rich bars that will keep you energized throughout the day.
Let’s dive into why these Easy No-Bake Protein Bars should become a staple in your meal prep routine!
Why You’ll Love These Easy No-Bake Protein Bars
- Super Easy to Make – Just mix, press, and refrigerate!
- No-Bake & Minimal Ingredients – A quick and effortless recipe requiring no oven time.
- Completely Customizable – Adjust the sweetness, texture, and mix-ins to your preference.
- High in Protein & Healthy Fats – Provides sustained energy and supports muscle recovery.
- Perfect for Meal Prep – Make ahead and store in the fridge or freezer for a quick snack.
- Naturally Sweetened – Uses banana, honey, or maple syrup instead of refined sugar.
- Kid-Friendly & Great for On-the-Go – A nutritious snack that’s perfect for lunchboxes and busy days.
Ingredients for Easy No-Bake Protein Bars
To make these delicious and healthy protein bars, you’ll need:
- 1 1/2 cups old-fashioned rolled oats
- 3/4 cup peanut butter (or favorite nut butter)
- 1 banana, mashed
- 1/3 cup honey, agave, or real maple syrup
- Pinch of salt
- ½ cup ground flaxseed
- 1 cup protein powder (chocolate, vanilla, or unflavored)
- 2 teaspoons vanilla extract
- 3/4 cup mix-ins (chopped dates, dried fruit, mini chocolate chips, unsweetened coconut flakes, nuts, etc.)
Step-by-Step Instructions
Step 1: Mix the Ingredients
In a large mixing bowl, combine the oats, protein powder, ground flaxseed, and salt. Stir to evenly distribute the dry ingredients.
Step 2: Add Wet Ingredients
Next, add the mashed banana, peanut butter, honey (or maple syrup), and vanilla extract. Mix everything together until you get a thick, sticky consistency. If the mixture is too dry, add a splash of milk or water to help bind the ingredients together.
Step 3: Add Mix-Ins
Fold in your favorite mix-ins, such as dried fruit, mini chocolate chips, shredded coconut, or chopped nuts.
Step 4: Press into a Pan
Line an 8×8-inch pan with parchment paper. Transfer the mixture into the pan and press down very firmly to ensure the bars hold their shape.
Step 5: Refrigerate & Cut
Place the pan in the refrigerator for at least 1 hour to allow the bars to firm up. Once set, remove from the fridge and cut into 16 bars.
Step 6: Store & Enjoy
Store the bars in an airtight container in the fridge for up to 2 weeks or freeze for up to 3 months.
Variations & Customizations
1. Chocolate Protein Bars 🍫
- Use chocolate protein powder instead of vanilla.
- Add 1 tablespoon cocoa powder for extra chocolate flavor.
- Fold in dark chocolate chips.
2. Nut-Free Protein Bars 🌰🚫
- Swap peanut butter for sunflower seed butter or coconut butter.
- Use nut-free mix-ins like seeds, oats, and coconut flakes.
3. Vegan Protein Bars 🌱
- Use vegan protein powder.
- Choose maple syrup or agave instead of honey.
- Ensure mix-ins are dairy-free.
4. High-Fiber Protein Bars 🌾
- Add extra flaxseeds, chia seeds, or hemp hearts.
- Use oat flour instead of oats for a smoother texture.
Serving Suggestions
These Easy No-Bake Protein Bars can be enjoyed in various ways, making them a versatile and satisfying snack option:
- Pre-Workout Energy Boost – Eat a bar about 30 minutes before a workout to fuel your body with sustained energy.
- Post-Workout Recovery – Enjoy one after a workout to aid muscle recovery and replenish energy stores.
- Breakfast on the Go – Pair a bar with Greek yogurt, a smoothie, or fresh fruit for a balanced breakfast.
- Healthy Dessert Alternative – Satisfy your sweet tooth with a healthy, protein-packed treat instead of processed sweets.
- Lunchbox Addition – A great, portable option for kids’ and adults’ lunchboxes.
- Midday Snack – Perfect for an afternoon energy boost at work or home.
- Toppings & Pairings:
- Drizzle with dark chocolate or nut butter for extra indulgence.
- Enjoy with a glass of almond milk or a cup of coffee.
- Crumble over Greek yogurt or oatmeal for added texture and protein.
Whether you enjoy them alone or as part of a meal, these bars are nutritious, satisfying, and absolutely delicious!
Storage & Freezing Tips
To ensure your Easy No-Bake Protein Bars stay fresh and delicious, proper storage is key. Here’s how you can keep them tasting great:
Refrigeration (Best for Short-Term Storage)
- Store the bars in an airtight container.
- Keep them in the fridge for up to 2 weeks.
- Separate layers with parchment paper to prevent sticking.
- For best texture, allow the bar to sit at room temperature for a few minutes before eating.
Freezing (Best for Long-Term Storage)
- Wrap each bar individually in plastic wrap or parchment paper.
- Place them in a freezer-safe bag or container.
- Store in the freezer for up to 3 months.
- To thaw, transfer to the fridge overnight or leave at room temperature for 15-20 minutes before eating.
Travel-Friendly Tips
- If you’re taking these bars on-the-go, wrap them tightly and keep them in a cool place.
- In warm temperatures, store them in an insulated lunch bag to prevent softening.
- For a firmer texture, keep them in the fridge until right before you leave.
These storage methods ensure that your Easy No-Bake Protein Bars stay fresh, chewy, and packed with flavor, whether you eat them right away or save them for later!
Frequently Asked Questions
1. Can I make these protein bars without protein powder?
Yes! You can substitute protein powder with extra oats or almond flour for a similar texture.
2. Can I bake these bars instead of refrigerating them?
These bars are designed to be no-bake, but if you prefer a firmer texture, you can bake them at 325°F for 10-12 minutes.
3. What’s the best protein powder to use?
Vanilla or chocolate plant-based or whey protein works best. For a smoother texture, try collagen peptides.
4. Can I make these without a banana?
Yes! Substitute 1/3 cup applesauce or Greek yogurt for a similar binding effect.
5. Are these protein bars keto-friendly?
To make them keto-friendly, use almond flour instead of oats, replace honey with a keto sweetener, and choose a low-carb protein powder.
Final Thoughts
These Easy No-Bake Protein Bars are the perfect homemade, healthy snack that can be customized to fit any dietary need. Whether you’re looking for a quick post-workout protein boost, a kid-friendly treat, or a grab-and-go breakfast option, these no-bake protein bars are an easy and delicious solution.
With minimal effort and just 10 minutes of prep time, you can make a batch of protein-packed bars that are tasty, nutritious, and free from artificial ingredients. Plus, with all the customization options, you’ll never get bored!
So go ahead and try this Easy No-Bake Protein Bars recipe today—your body (and taste buds) will thank you!
Print
🍫 Homemade Protein Bars – No Bake & Super Healthy! 💪✨
- Total Time: 1 hour 10 minutes
Description
Say goodbye to store-bought protein bars! These homemade bars are chewy, naturally sweetened, and packed with protein to keep you energized throughout the day. Whether you need a post-workout snack or a midday pick-me-up, these no-bake protein bars are the perfect grab-and-go treat. Plus, you can customize them with your favorite mix-ins! Give them a try today! 🚀
Ingredients
✅ 1 ½ cups old-fashioned rolled oats
✅ ¾ cup peanut butter (or any nut/seed butter)
✅ 1 mashed banana
✅ ⅓ cup honey, agave, or maple syrup
✅ Pinch of salt
✅ ½ cup ground flaxseed
✅ 1 cup protein powder (chocolate, vanilla, or plain)
✅ 2 tsp vanilla extract
✅ ¾ cup mix-ins (chopped dates, dried fruit, mini chocolate chips, coconut flakes, or nuts)
Instructions
1️⃣ Mix everything in a large bowl until well combined. If it’s too dry, add a splash of water, milk, or extra honey.
2️⃣ Press the mixture firmly into an 8×8-inch pan.
3️⃣ Refrigerate for at least 1 hour before cutting into bars.
4️⃣ Store in the fridge for up to 2 weeks or freeze for up to 3 months.
Notes
✔ Swap peanut butter for almond, cashew, or sunflower butter.
✔ Use chocolate protein powder for a richer taste.
✔ Make it vegan by using plant-based protein powder.
✔ Try gluten-free oats & protein powder for a GF version.
✔ Swap peanut butter for almond, cashew, or sunflower butter.
✔ Use chocolate protein powder for extra flavor.
✔ Make it vegan by using plant-based protein powder & agave/maple syrup.
✔ Gluten-free? Use GF oats & protein powder!
- Prep Time: 10 minutes
- Cook Time: 1 hour
Nutrition
- Serving Size: 16 bars
- Calories: 184 per bar
- Fat: 9g per bar
- Carbohydrates: 18g per bar
- Fiber: 3g per bar
- Protein: 10g per bar