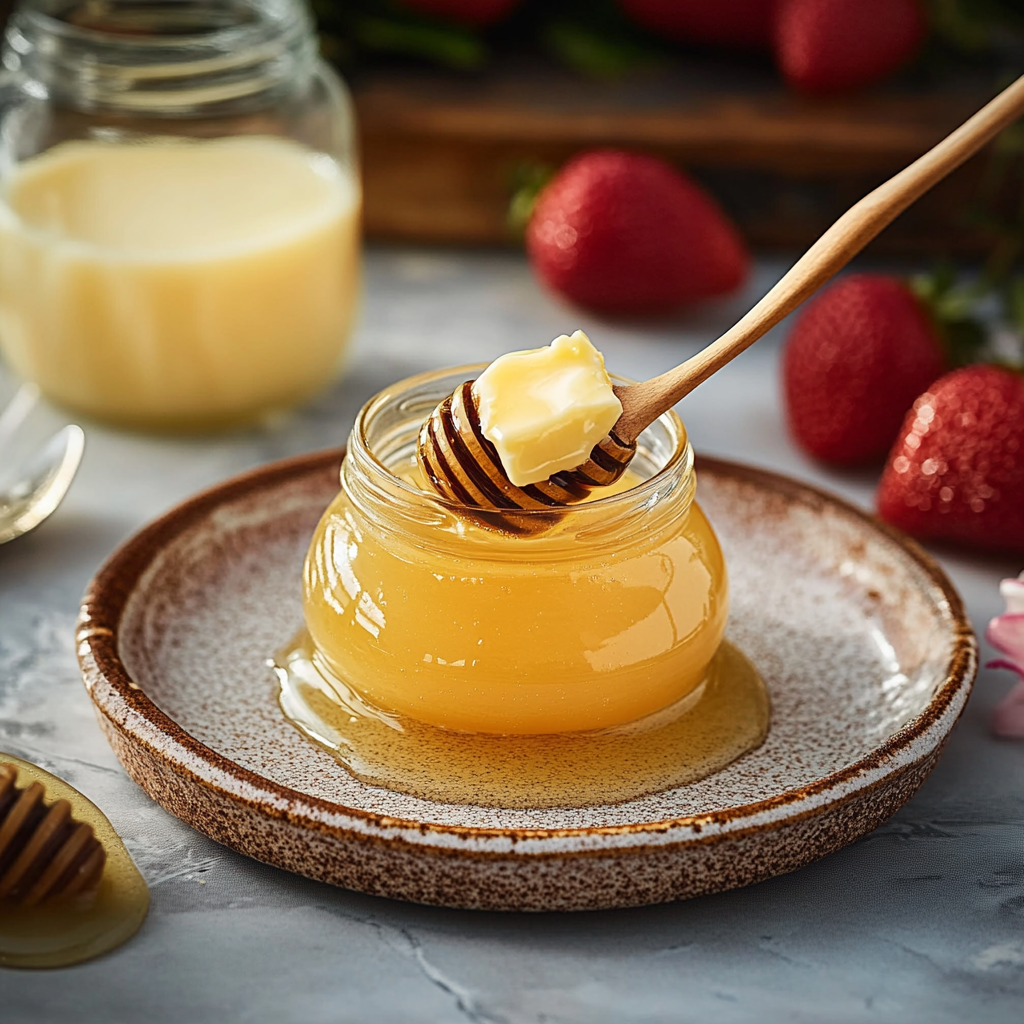

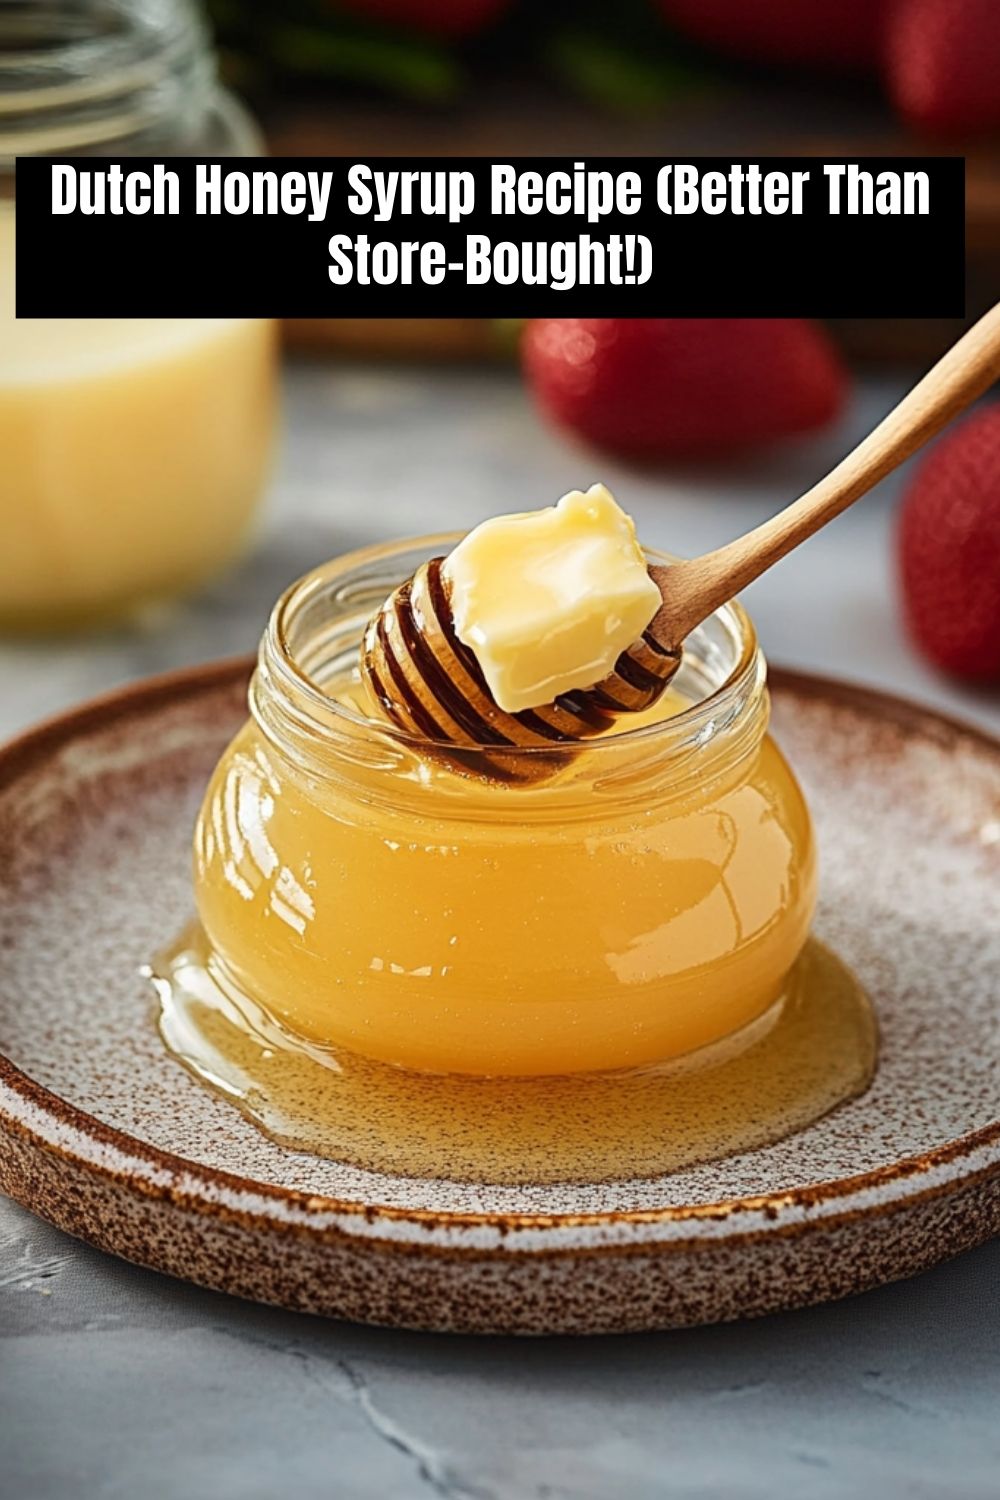
Dutch Honey Syrup: The Secret to Breakfast Magic (and So Much More!)
Hey there, fellow food lovers! 👋 It’s your kitchen buddy here, ready to spill the beans (or should I say, pour the syrup?) on one of my all-time favorite recipes: Dutch Honey Syrup. You know that moment when you take a bite of pancakes drenched in something so rich, buttery, and just *chef’s kiss* perfect that you forget your to-do list, your inbox, and maybe even your own name? That’s this syrup. It’s not just a topping—it’s a mood. A warm hug. A Sunday morning soundtrack of clinking forks and contented sighs.
Growing up, this syrup was my family’s breakfast crown jewel. My grandma called it “vanilla butter syrup,” my dad insisted it was “liquid gold,” and I just called it “the reason I learned to make pancakes at age 10.” And guess what? It’s stupidly easy to make. No fancy techniques, no obscure ingredients—just 10 minutes and a whole lot of love. Whether you’re a brunch newbie or a seasoned flapjack flipper, this recipe will turn your kitchen into a nostalgia factory. Let’s get sticky!
The Time I Almost Burned Down the Kitchen (and Other Sweet Memories)
Picture this: 12-year-old me, apron askew, standing on a step stool at my grandma’s stove. She’d handed me the sacred syrup pot—a dented copper saucepan older than my parents—and said, “Stir like your pancakes depend on it.” Spoiler: I got distracted by the dog barking at squirrels. One whiff of caramelizing sugar later, I panicked, dumped in the baking soda too fast, and…BOOM. Foam erupted everywhere. The ceiling, the counter, my hair—suddenly, everything was glazed in sticky vanilla chaos. Grandma just laughed, handed me a spoon, and said, “Taste it. Burnt sugar’s just extra flavor, kid.”
That’s the thing about Dutch Honey Syrup: it’s forgiving. Mess up the timing? It’s still delicious. Forget to measure? It’ll adapt. Over the years, I’ve made it in dorm microwaves, campsite skillets, and once, memorably, in a hotel room coffee maker (don’t ask). Every batch reminds me that cooking isn’t about perfection—it’s about the stories you stir into the pot.
What You’ll Need (and Why It All Works)
- ½ cup butter – Salted or unsalted? Your call! I use salted for that sweet-salty kick. Vegan? Swap in plant-based butter—it works like a charm.
- 1 cup sugar – White sugar gives that classic shine, but brown sugar adds a caramel depth. Feeling fancy? Try coconut sugar for a earthy twist.
- ½ cup buttermilk – The tangy MVP that balances the sweetness. No buttermilk? Mix ½ cup milk + ½ tbsp lemon juice or vinegar. Let it sit 5 mins—boom, DIY buttermilk!
- 1 tbsp vanilla extract – Splurge on real vanilla here. This is the syrup’s soul! No vanilla beans? No shame—extract is perfect.
- 1 tbsp light corn syrup – Just a touch prevents crystallization. Hate corn syrup? Honey or maple syrup works too (your syrup will taste slightly different, but still amazing).
- ½ tsp baking soda – The secret weapon! It creates that signature foam, making the syrup luxuriously thick. Don’t skip it—chemistry is delicious.
Let’s Make Magic: Step-by-Step Syrup Sorcery
- Melt the butter – Grab a large saucepan (trust me, you need the space for the foam party later). Melt butter over medium heat. Pro tip: Let it bubble just until it smells nutty—that’s browned butter territory, baby!
- Sweeten the deal – Stir in sugar, buttermilk, and corn syrup. Crank the heat to medium-high. Stir constantly until it comes to a gentle boil (no rolling boils—we’re not making candy here).
- Baking soda BOOM – Here comes the fun part! Sprinkle in baking soda and whisk like you’re trying to win a kitchen Grammy. It’ll foam up dramatically—that’s the baking soda reacting with the buttermilk. Don’t panic; just keep stirring for 10 seconds. This step gives the syrup its velvety texture!
- Vanilla’s grand entrance – Remove from heat and stir in vanilla. Warning: The aroma will hit you like a cozy blanket. Let it cool slightly (it thickens as it sits).
Chef Hacks:
– Use a heavy-bottomed pan to prevent scorching.
– Foam overflowing? Pull the pan off the heat for a sec—it’ll calm down.
– Make it ahead! Store in a mason jar for up to 2 weeks. Reheat gently in the microwave.
Serving Ideas That’ll Make You a Brunch Legend
Drizzle it over pancakes? Obviously. But let’s think bigger:
– Swirl into oatmeal or yogurt
– Dip for churros or apple slices
– Glaze for roasted carrots or bacon
– Ice cream topping (vanilla + this syrup = heaven in a bowl)
Pro plating tip: Serve in a tiny pitcher with a cinnamon stick garnish. Insta-worthy and smells incredible!
Mix It Up: 5 Delicious Twists
- Spiced Cider Syrup – Add 1 tsp cinnamon + ¼ tsp nutmeg with the sugar.
- Citrus Burst – Stir in 1 tbsp orange zest at the end.
- Boozy Brunch – Replace 1 tbsp buttermilk with bourbon or rum.
- Vegan Dream – Use vegan butter + coconut milk “buttermilk.”
- Low-Sugar Hack – Swap half the sugar with monk fruit sweetener.
Confessions from My Syrup-Stained Notebook
True story: I once brought a jar of this syrup to a friend’s wedding as a gift. They used it as a cake glaze! Over the years, I’ve learned:
– The foam isn’t just fun—it’s functional. It incorporates air, making the syrup lighter.
– If it crystallizes? Just reheat with a splash of water.
– My dog once licked a spilled puddle off the floor and then took a 3-hour nap. Moral: This syrup is pet-approved (in moderation!).
Your Syrup Questions, Answered
Q: Why did my syrup turn grainy?
A: Sugar crystals formed. Next time, add a splash of water with the sugar, or swap ¼ cup sugar with corn syrup/honey.
Q: Can I freeze it?
A: Absolutely! Freeze in ice cube trays for single-serving syrup bombs.
Q: Foam went flat. Did I fail?
A: Nope! It settles as it cools. Still tastes incredible.
Q: Is this like store-bought syrup?
A: Not even close. This is richer, thicker, and tastes like homemade love.
Nutritional Info (Because Knowledge is Power)
Per 2-tbsp serving: 120 cal, 7g fat, 15g carbs, 14g sugar. Worth every drop!